Day 1
After a while, I finally decided to start working on the project I had planned. Since I’m got bored of .NET (you’re right, I could use C# with C++ and handle the graphics), but I chose OpenGL combined with ImGui, even though I initially wanted a fully OpenGL-based approach.
Reality: I hadn’t worked with the ImGui Library until now, so I had to get used to it.

After writing the PE class, I had to create a TreeViewList. In ImGui, it’s done using ImGui::TreeNode(file_name_str.c_str()). This function creates a node with the value set to the file name.
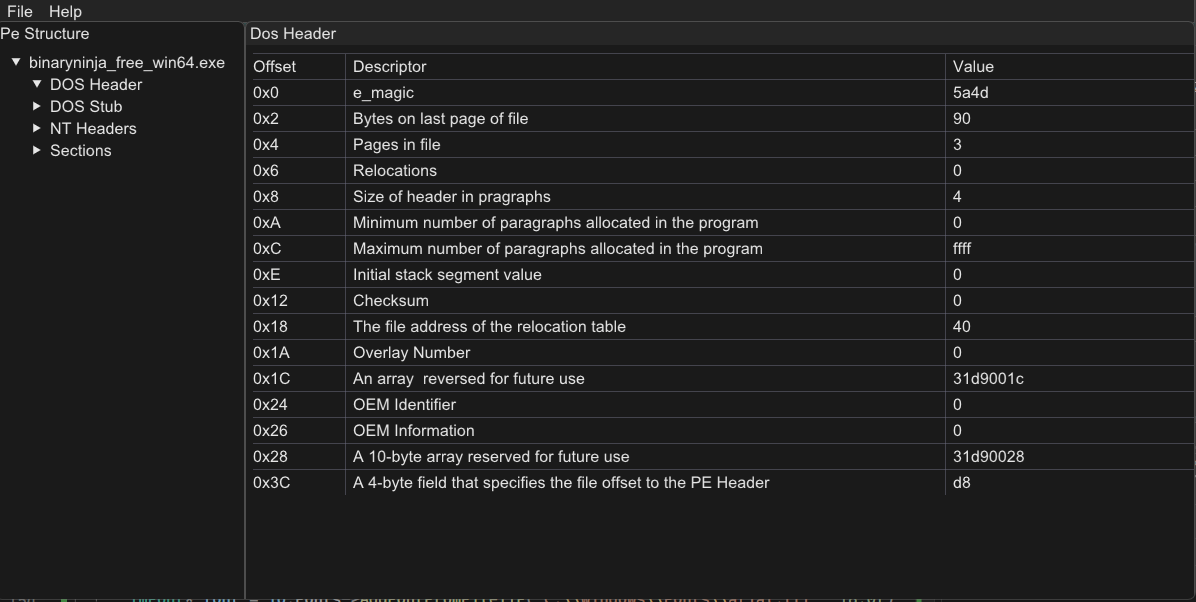
From here , I started doing a few things. Of course, I started with putting in place PE elements like the DOS Header, NT Headers, and Sections.
I had to include a panel on the right side to display data relating to the current node selected. Aside from that, I did a bit of design, altering colors and rounding buttons.
I also made a loading function so that the app receives enough time to read the data properly when the user opens a file. Not to mention the OpenDialogFunction.

However, the scope of the app isn’t limited to being just a PE parser. As a beginner, when you use it, you might ask yourself:
“Oh, what’s e_magic?”
To address this, there will be a Help button that provides information about these fields, explaining what they are and how they are used. This will help users understand the structure and purpose of each field in the PE file.
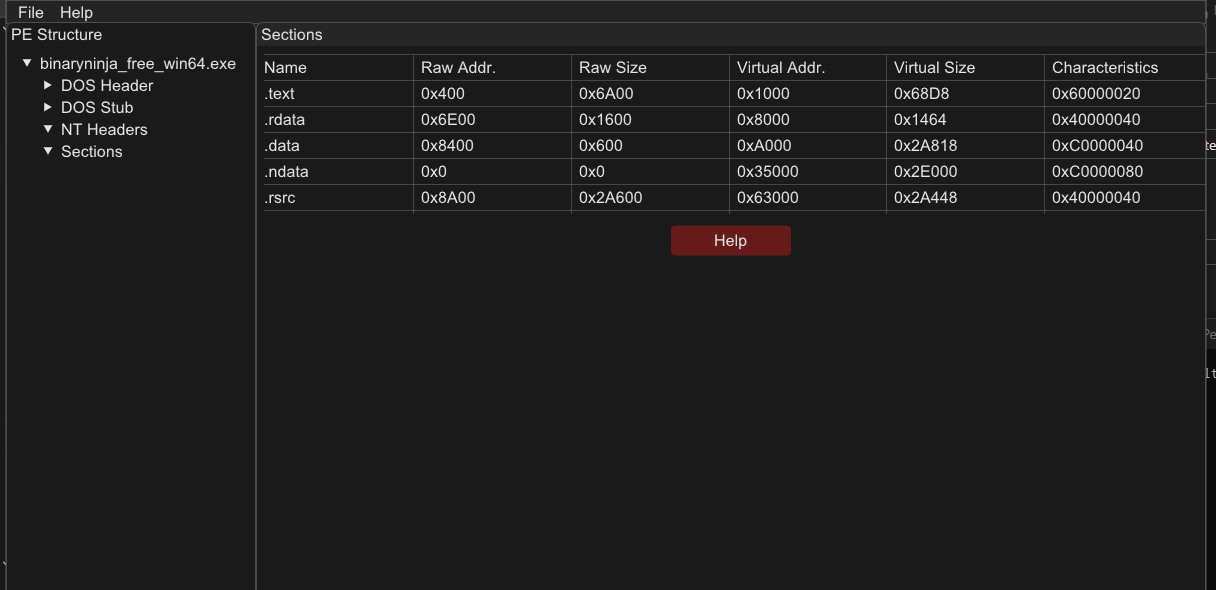
After writing a well-structured function to go through each section and extract its name, along with another function to extract the data of each section, I was able to put everything together and make it work seamlessly.
The purpose of this software isn’t just to apply my skills and achieve results but also to be a great helper on your journey.
Day 2 [let’s assume that it’s day 2]
Good morning! A new day, a new hell, haha.
Okay, maybe it’s not hell, only if you’re writing code instead of using tools that are already made.
Now, let’s assume it’s day 2. I’ve been working on my parser, of course.
One of the things that improved was the Tree View List, and I also worked on an IAT parser. I tried to get a better understanding of how to write it, but I didn’t gain much from those blogs, so I did my own research. Eventually, I got it working [though I still need to improve it], but for now, it does the job.
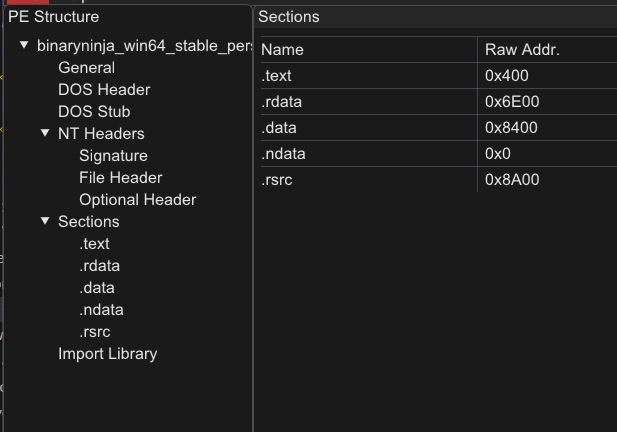
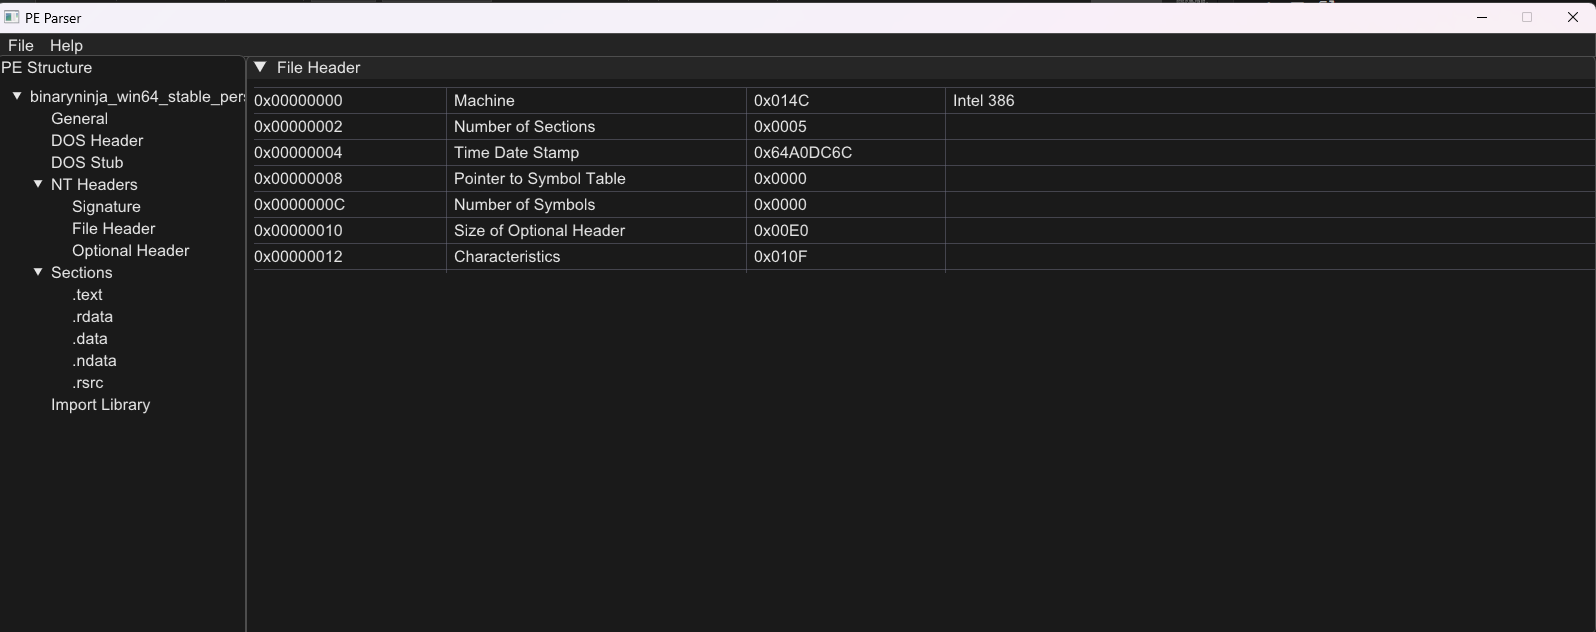
I’ve worked on parsing the NT Headers and am also working on a General section that will collect and display general information about the PE file, such as its size and path. I also want to implement SHA-256 and MD5 hash generation based on the file.
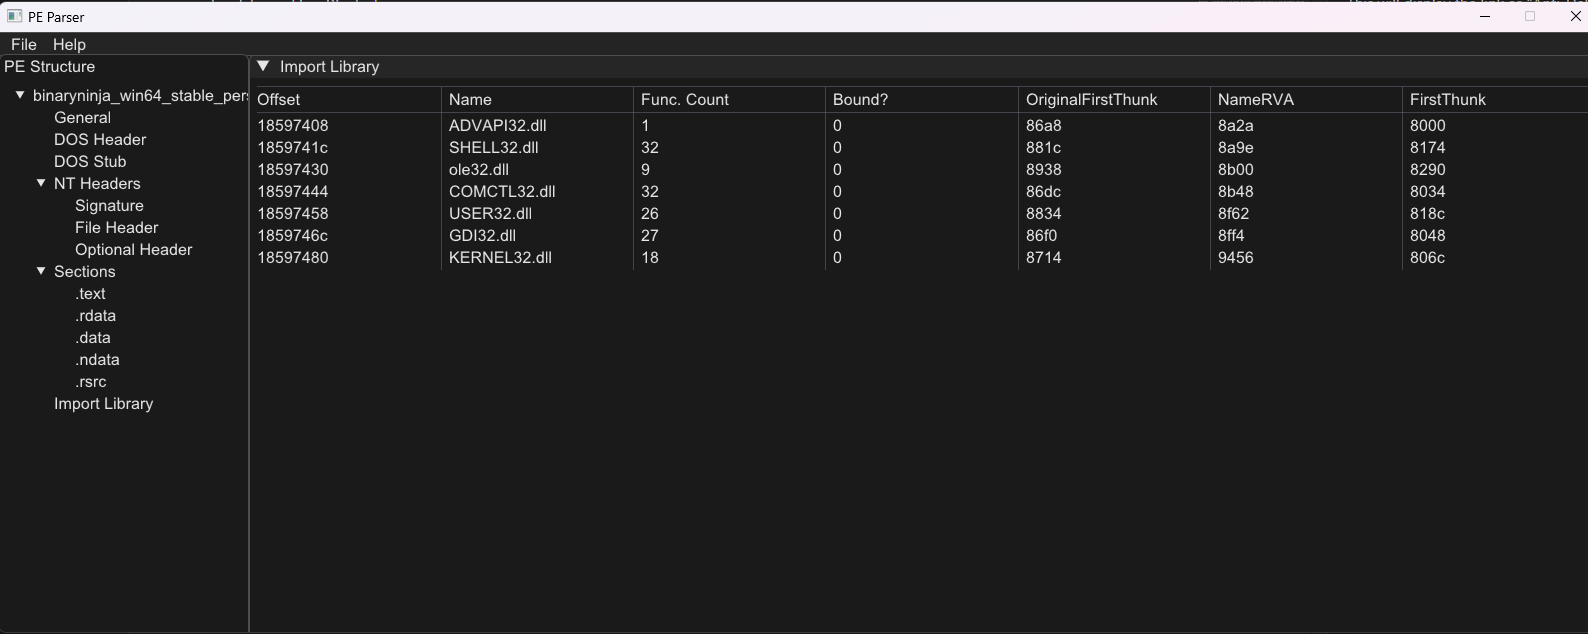
Before moving on, I might write an article or maybe not, but I will explain as simply as possible how to parse the Import Directory (ID) in case you ever need it (not sure why, but hey, why not?).
It may not be the best solution, but it works for me.
Understanding the Import Directory Before parsing the ID, you need to gather some information about it.
Let’s analyze the structure that will be our guide:
typedef struct _IMAGE_OPTIONAL_HEADER {
  WORD                 Magic;
  BYTE                 MajorLinkerVersion;
  BYTE                 MinorLinkerVersion;
  DWORD                SizeOfCode;
  DWORD                SizeOfInitializedData;
  DWORD                SizeOfUninitializedData;
  [TOO MUCH DATA >:( ]
  DWORD                LoaderFlags;
  DWORD                NumberOfRvaAndSizes;
  IMAGE_DATA_DIRECTORY DataDirectory[IMAGE_NUMBEROF_DIRECTORY_ENTRIES];
} IMAGE_OPTIONAL_HEADER32, *PIMAGE_OPTIONAL_HEADER32;
The IMAGE_DATA_DIRECTORY structure exists, but it’s not always well-documented. What exactly is it? I could say it points to a Data Directory, but that would still be a bit abstract.
What is IMAGE_DATA_DIRECTORY? Each PE file contains this structure, which is an array that holds important locations of data within the file. This helps the Windows loader find various parts of the executable, such as imports, exports, relocations, and more.
typedef struct _IMAGE_DATA_DIRECTORY {
  DWORD VirtualAddress;
  DWORD Size;
} IMAGE_DATA_DIRECTORY, *PIMAGE_DATA_DIRECTORY;
This structure tells us:
VirtualAddress – The RVA (Relative Virtual Address) of the directory data.
Size – The size of the data in bytes.
The value of the Import Directory that can be accessed from the Optional Header is simply a Relative Virtual Address (RVA).
ID_RVA = pe->GetNtHeaders()->OptionalHeader.DataDirectory[IMAGE_DIRECTORY_ENTRY_IMPORT].VirtualAddress;RVA: 0x0006D000 (Decimal: 446,464)
.rsrc Section Virtual Address: 0x69800 (Decimal: 432,128)
If you add the Size of the section you will find that if the RVA is it located or not in that section.Now that we have the address, we need an offset.
Why do we need a file offset? The PE file structure differs from how it is mapped in memory. While the PE file in memory is accessed using an RVA, the raw file data is structured differently.
offset = imageBase + text.RawOffset + (importDirectory.RVA - text.VA)Where:
-
imageBase → The start address where the binary image is loaded.
-
section.RawOffset → The raw address value from the corresponding section.
-
ID_RVA → The RVA of the Import Directory.
Getting the Import Descriptor Offset The Import Descriptor is a structure within a PE file. More details can be found here: 0xrick
To obtain the file offset for the Import Descriptor:
DWORD importDescriptorOffset = ID_RVA - sec->VirtualAddress + sec->PointerToRawData;Then, we can retrieve the Import Descriptor:
importDescriptor = (PIMAGE_IMPORT_DESCRIPTOR)(pe->GetFile() + importDescriptorOffset);After that, we just iterate through the descriptors with a loop.